Introduction
by D. Gralke, Technical Sales Manager, MR Chemie
Many users of penetrant and magnetic particle testing techniques use various tools daily to carry out their work safely and in accordance with standards. However, there are also a few inspectors who are either unaware of their existence or how they work. In this article, we would like to provide you with a brief overview of the most used tools. We have limited ourselves here primarily to the European standards. We consider the term "aids" to be superordinate. These must be assigned to other categories, such as measuring equipment, reference blocks or control blocks.
What is what?
Measuring equipment provides a readable (metric) value. As precise values are specified in some regulations, it is essential to be able to record precisely such values.
Reference blocks are used for comparison. This evaluation is called the ordinal evaluation level. For example, a current finding is compared with a reference image. Theoretically, it can also be two identical blocks that were tested under different conditions (e.g. temperature, test time, pressure environment, gravity, etc.).
Reference test blocks are often used in the nominal range. This means a yes/no statement. If a reference test block shows all the available artificial indicators, this could be interpreted as a pass. If a reference test block does not display all the indicators, this may mean that the test was not successful. This would mean repeating the exam if necessary.
Examples for measuring equipment
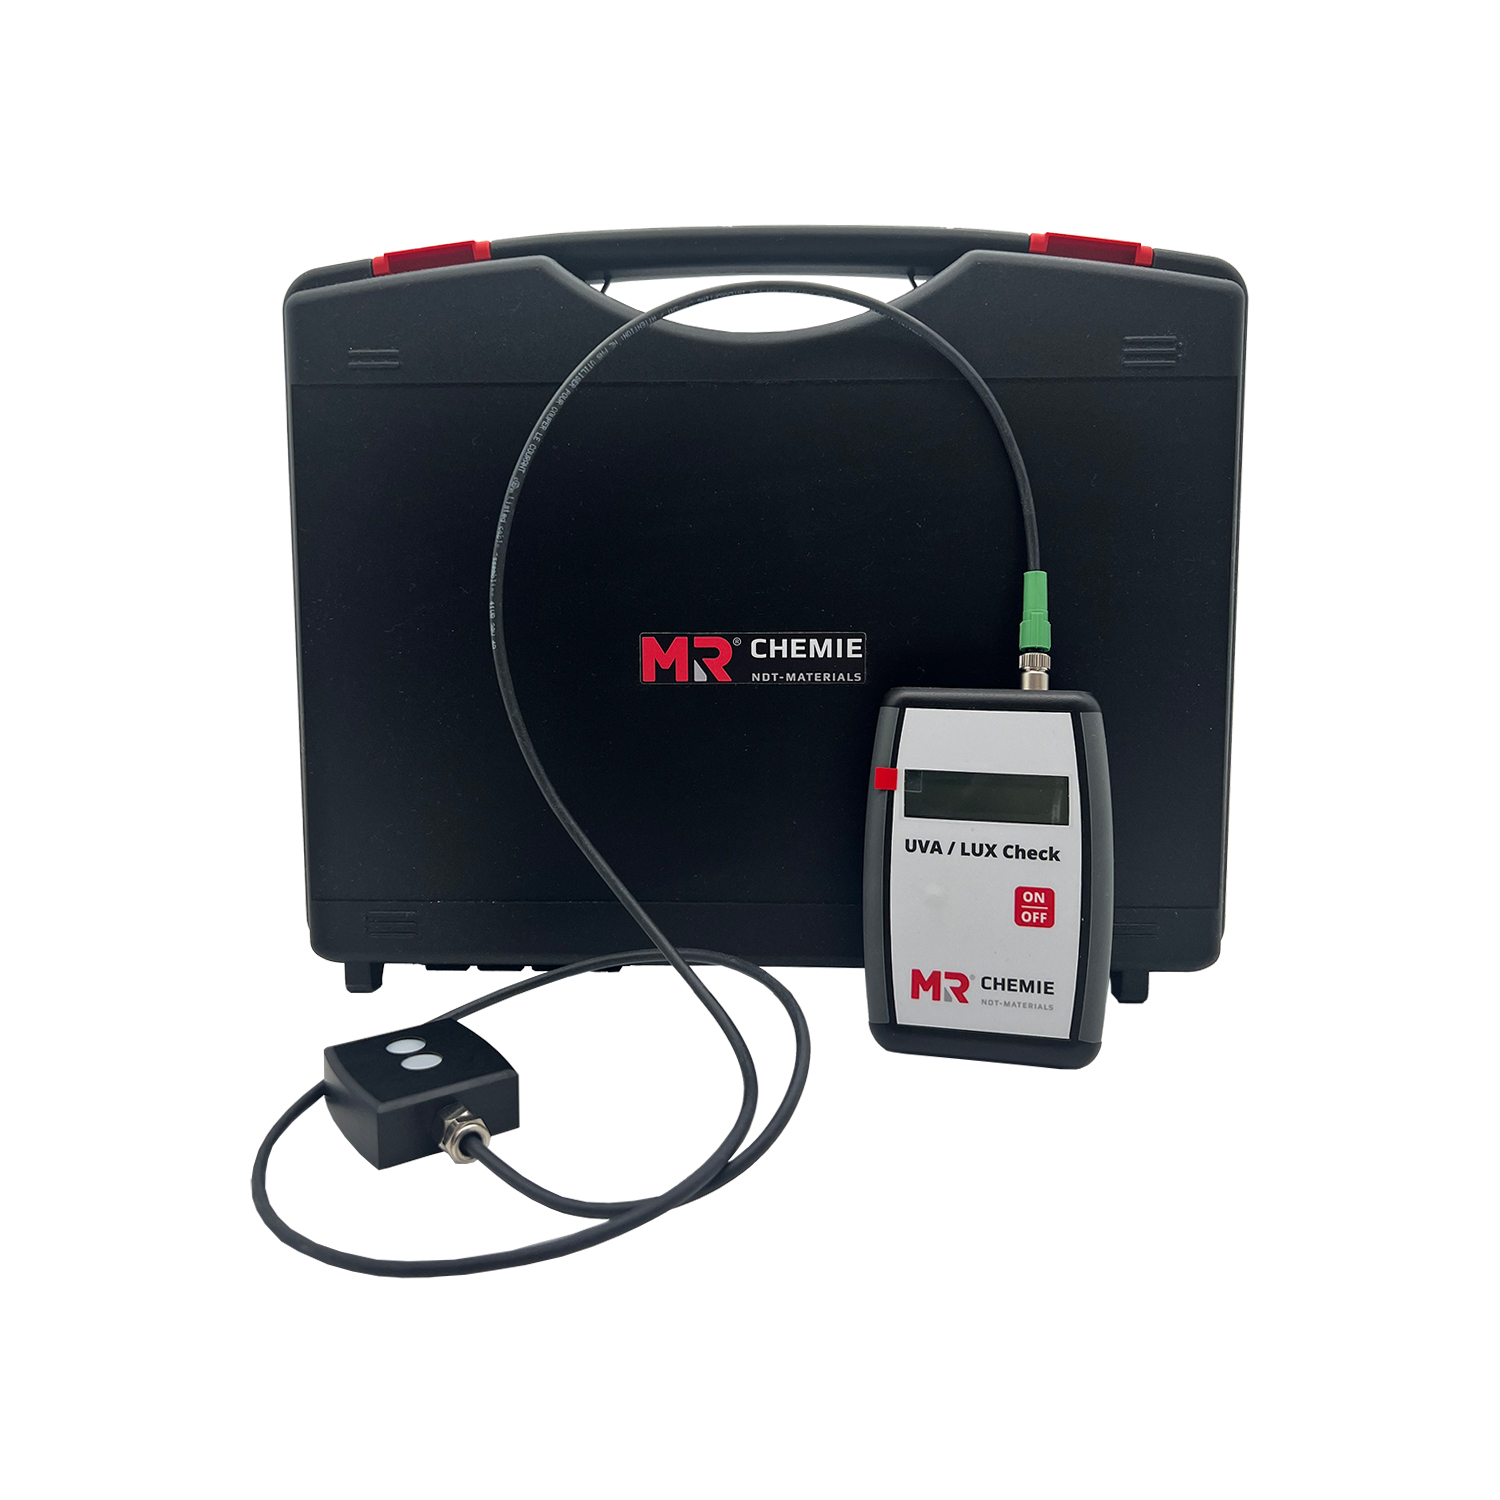
MR®454 UVA/LUX Check Measuring instrument
This device is used in dye penetrant testing and in magnetic particle testing. The standards require the inspector to ensure that it is either not too bright or not too dark. There may also be specifications for exposure to UV-A radiation. Example: Normally, the regulations stipulate a minimum brightness of 500 lux when testing under "daylight". An upper value is often limited by the statement that there must be no glare. If you test under UV conditions, you will often find the statement maximum 20 LUX with at least 10 W/m².
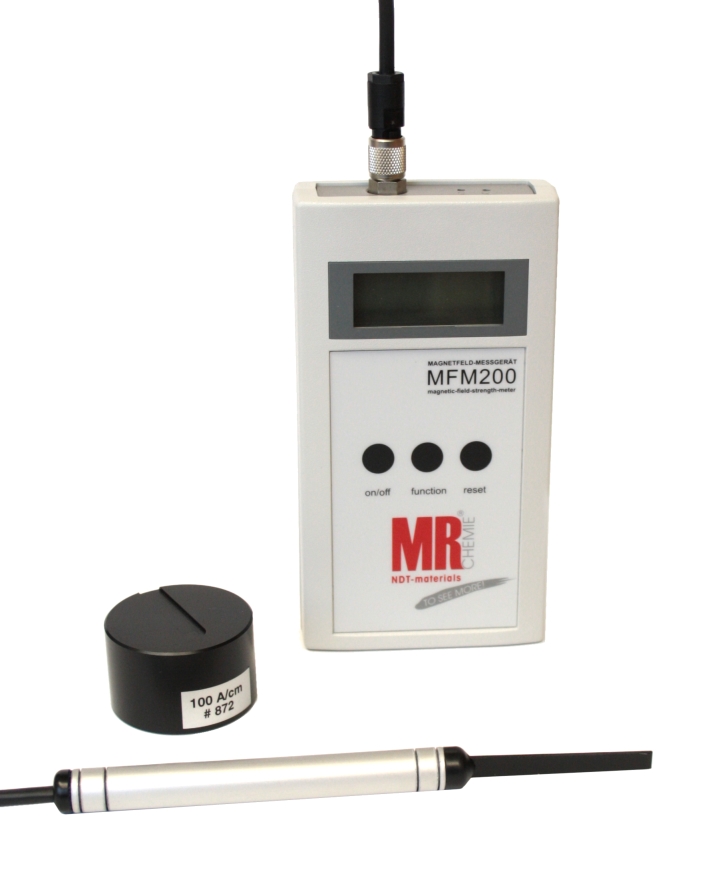
Magnetic field strenght meter MFM200
This device is used for magnetic particle testing. The aim is to prove that a sufficient tangential field strength is present on the surface of the component to be tested. There are also values that should be achieved here. As a rule, a tangential field strength of min. 2 kA/m to max. 6 kA/m is required. If the tangential field strength is below 2 kA/m, the component is not sufficiently saturated, and if the value is above 6 kA/m, the component is over-magnetized. In both cases, the result would be that no or only weak indications would be found.
Examples for reference blocks

Reference block type 1 (MTU Nr. 3)
Reference block type 1 (also known colloquially as MTU3 / MTU no. 3) is used to verify the test equipment. The reference block is compared with a reference image. This reference image is provided by the manufacturer as a test certificate. Both coarse and fine cracks are present in the reference block. The older test equipment becomes, for example in test benches, the more it tends to coarsen. As a result, finer indications may no longer be detected. The reference block is a permanent magnet. This must not be magnetized under any circumstances, as otherwise the reference block can no longer function. It is generally advisable to recalibrate the reference block at regular intervals, especially if it has been magnetized unintentionally. It is suitable for fluorescent testing as well as for testing under daylight.

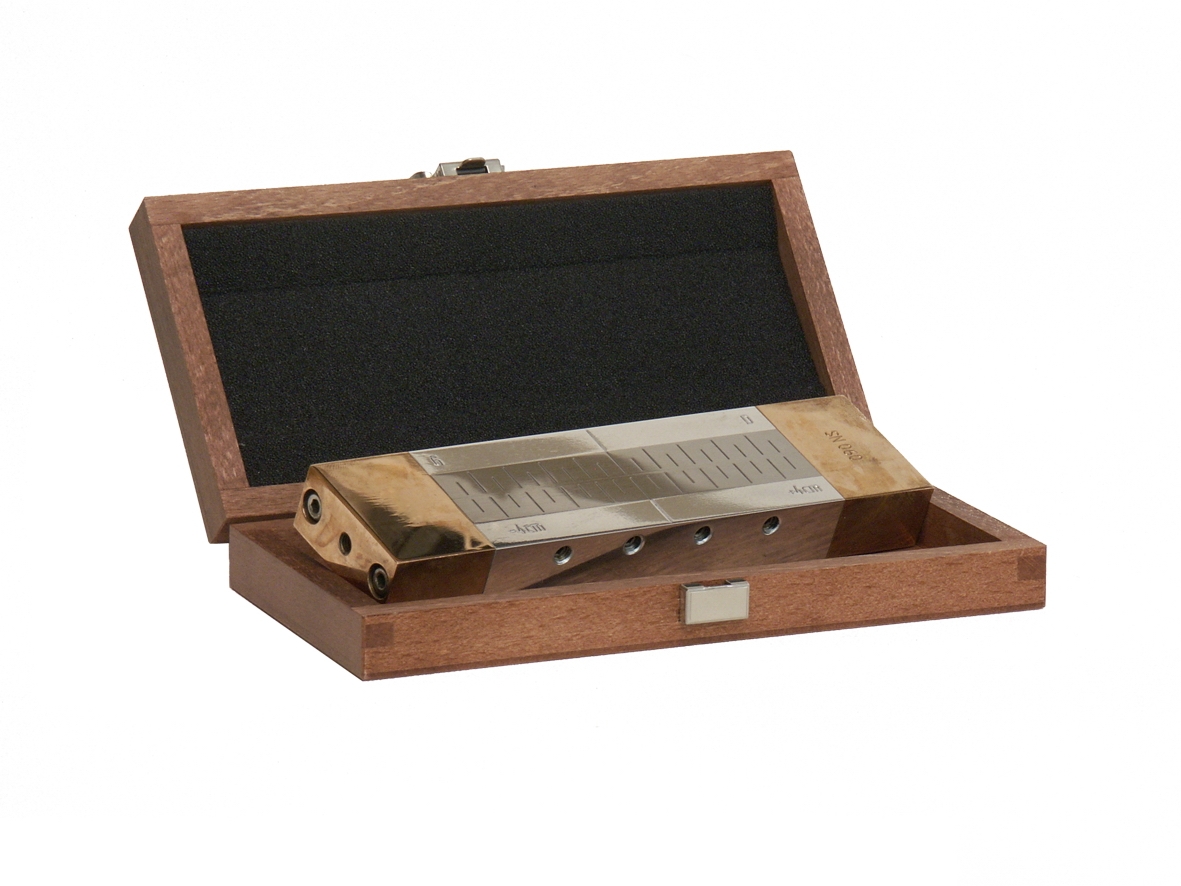
Reference block type 2
Reference block 2 is also used to check the test equipment. However, it works differently to reference block 1 in that it consists of two steel blocks with two magnets at the ends. The test medium is applied to the surface and gives a readable value. As the magnetic field decreases with increasing distance, only finer particles can be attracted to the test medium. This results in the sensitivity of the test medium. However, it is not possible to refill particles in pump circuits, which means that the test medium usually has to be replaced completely.

Examples for reference test blocks

Reference test block 1
The reference test block 1 is used for sensitivity control during sample and batch testing. The set consists of 4 polished brass plates that have been electroplated with nickel. The plates also have cracks of different depths. The crack depths are á 10, 20, 30 and 50 µm. The ratio of width to depth of each crack should be approximately 1:20. The sensitivity levels require the following test panels: • Red penetrant: 50 µm and 30 µm • Fluorescent penetrants, level 2: 50 µm, 30 µm and 20 µm • Fluorescent penetrants, level 3: 30 µm, 20 µm and 10 µm • Fluorescent penetrants, level 4: 20 µm and 10 µm

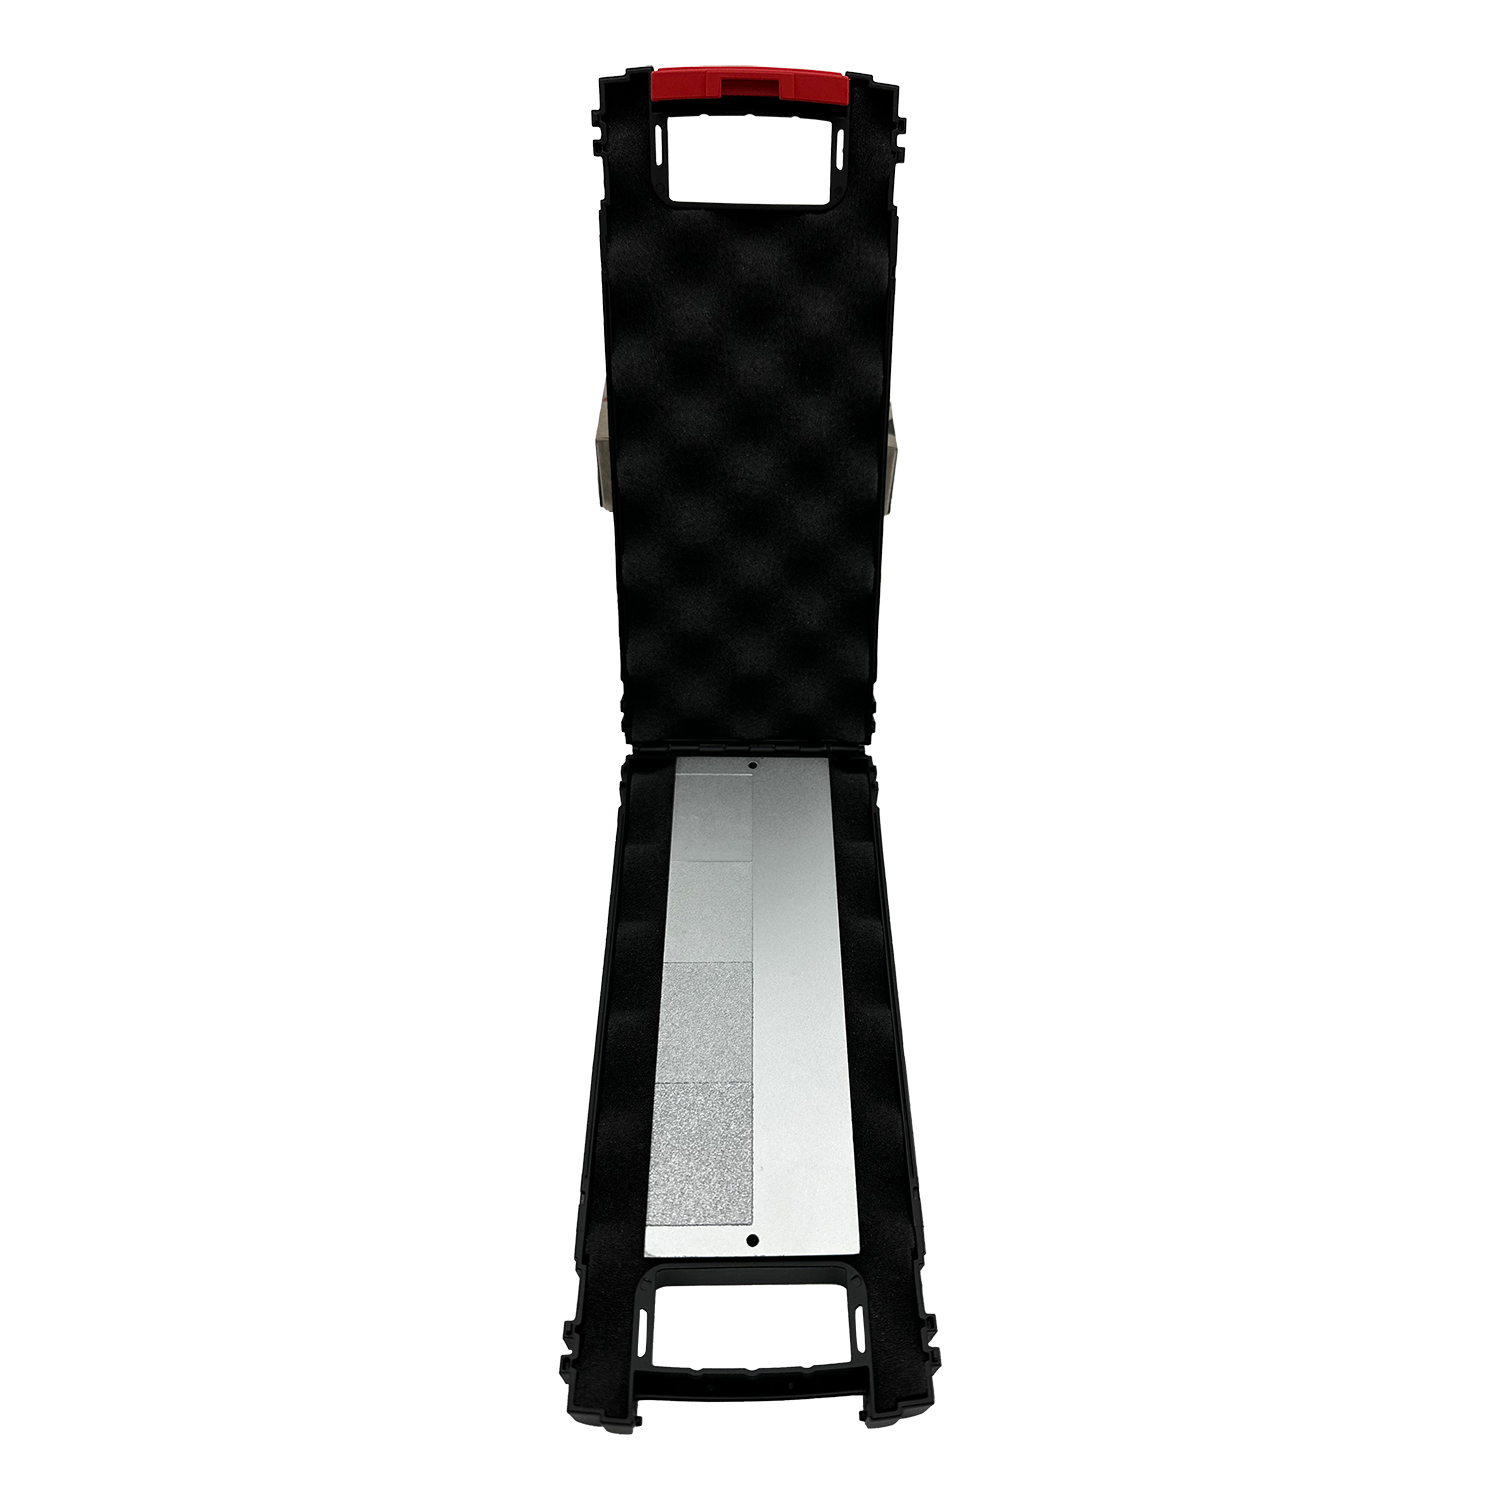
Reference test block 2
Reference test block 2 is probably one of the best known and most frequently used reference test blocks in dye penetrant testing. It is used to prove that all conditions lead to the desired result. The test specimen is tested under the same conditions as the component to be tested. The stainless-steel reference test block consists of 4 different roughness fields (Ra: 2.5 µm, 5 µm, 10 µm & 15 µm), which are intended to simulate the surface roughness of the component. This allows you to carry out a wipeability test. Furthermore, the reference test block has 5 star cracks with different extensions. Typical dimensions of the star cracks are 3.0 / 3.5 / 4.0 / 4.5 / 5.5 mm. The aim is to determine which defect size can be detected on which roughness. The rougher the surface, the more difficult intermediate cleaning becomes. However, the wipeability test is a good way of checking whether, for example, too little or too much has been cleaned. It is also necessary to determine how many star cracks must be visible. In some cases, the bleeding of the star cracks is also used as a criterion.


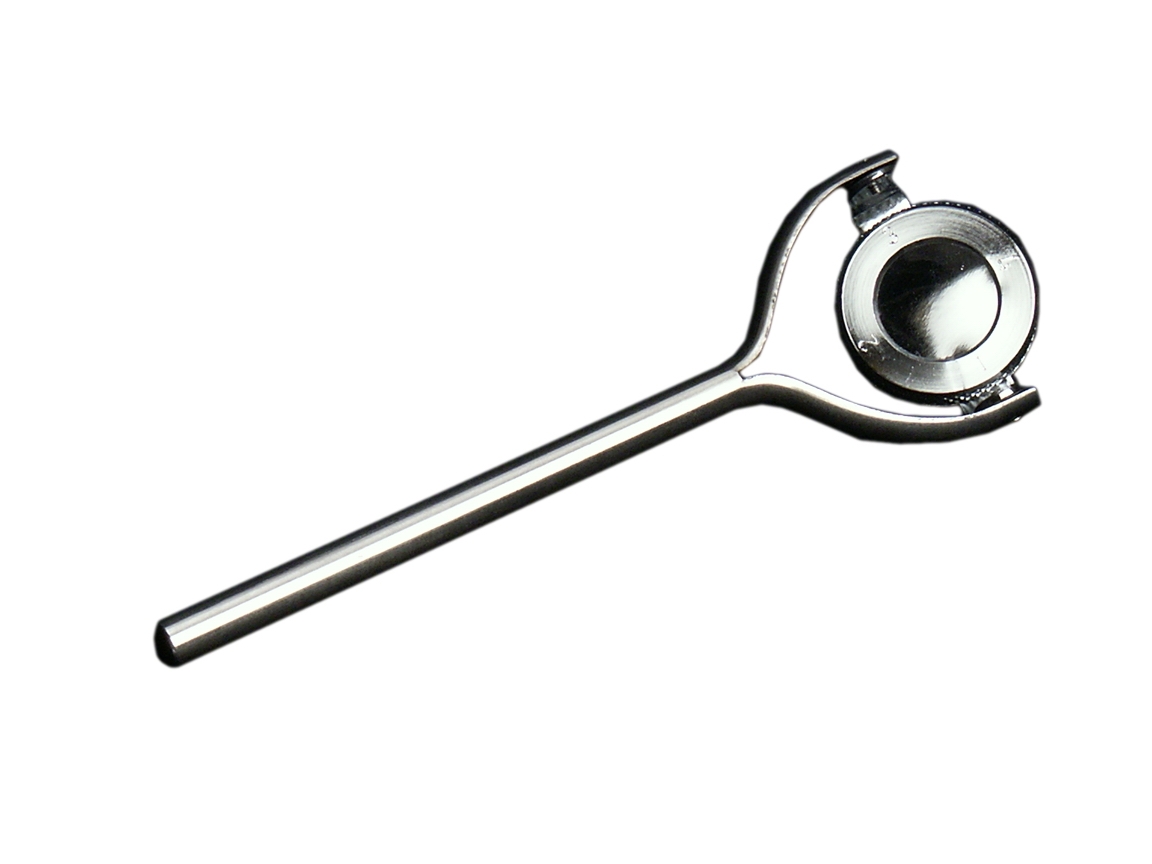
Test body acc. to Prof. Berthold
The test body according to Prof. Berthold, often referred to colloquially as "Berthold", is a reference test block for the magnetic particle testing procedure. It is used to test the entire system. It is placed on the surface, which is magnetized accordingly. If there is only one direction of magnetization, a line is formed if all settings and test conditions are met. If there are two circles, as is the case with a combination test bench or a cross yoke, a cross is formed.
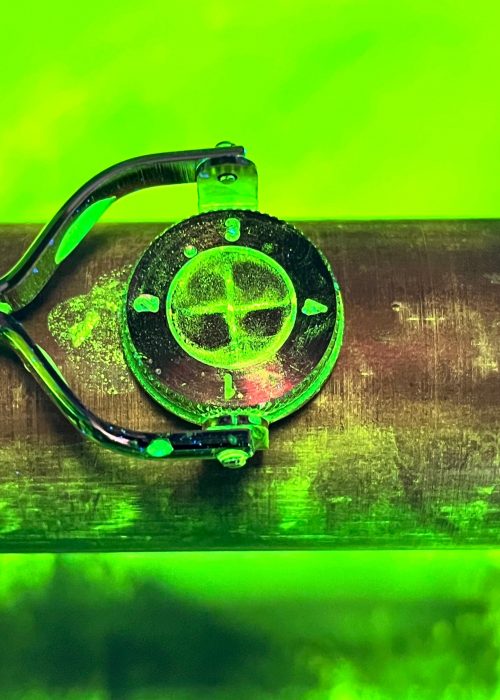
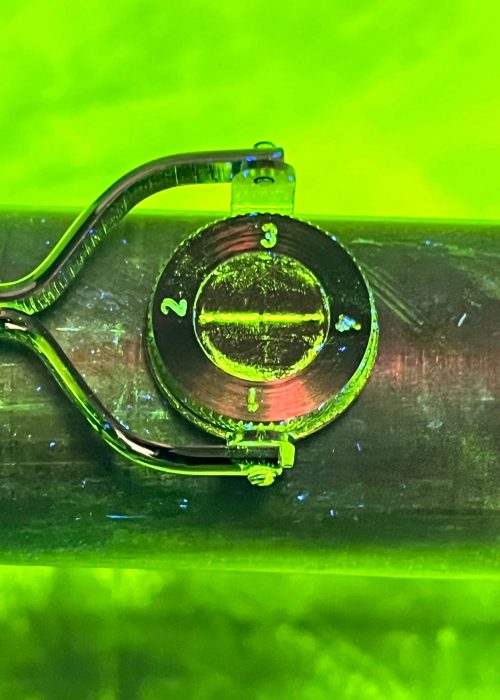
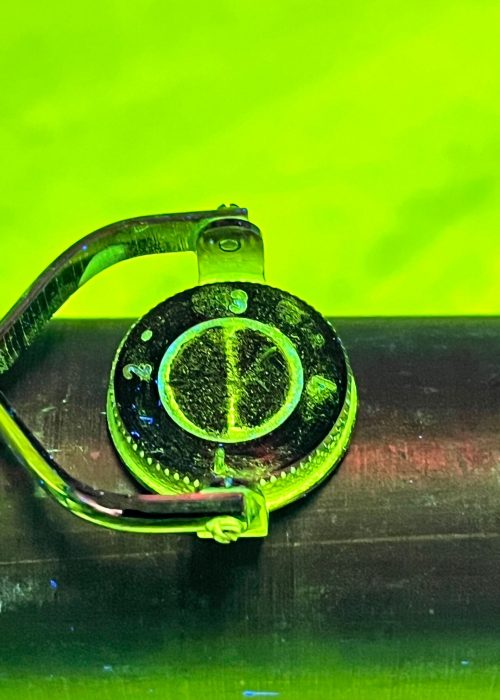
If you need assistance with the selection or application, we will be happy to help you. You can purchase all the products shown from us. Of course, we also stock other aids, just take a look at our homepage.


